Overview
Please note only project managers and dataset creators can modify datasets.
In this tutorial, you'll learn how to append or delete items from QuickGraph datasets. For illustrative purposes, we'll modify the dataset associated with the "Alice In Wonderland" project (created in the Introduction Tutorial). However, this process is identical for blueprint datasets.
As your project evolves, you might need to add more data or delete unsuitable data. The instructions below will guide you through modifying a project dataset.
Finding the Dataset
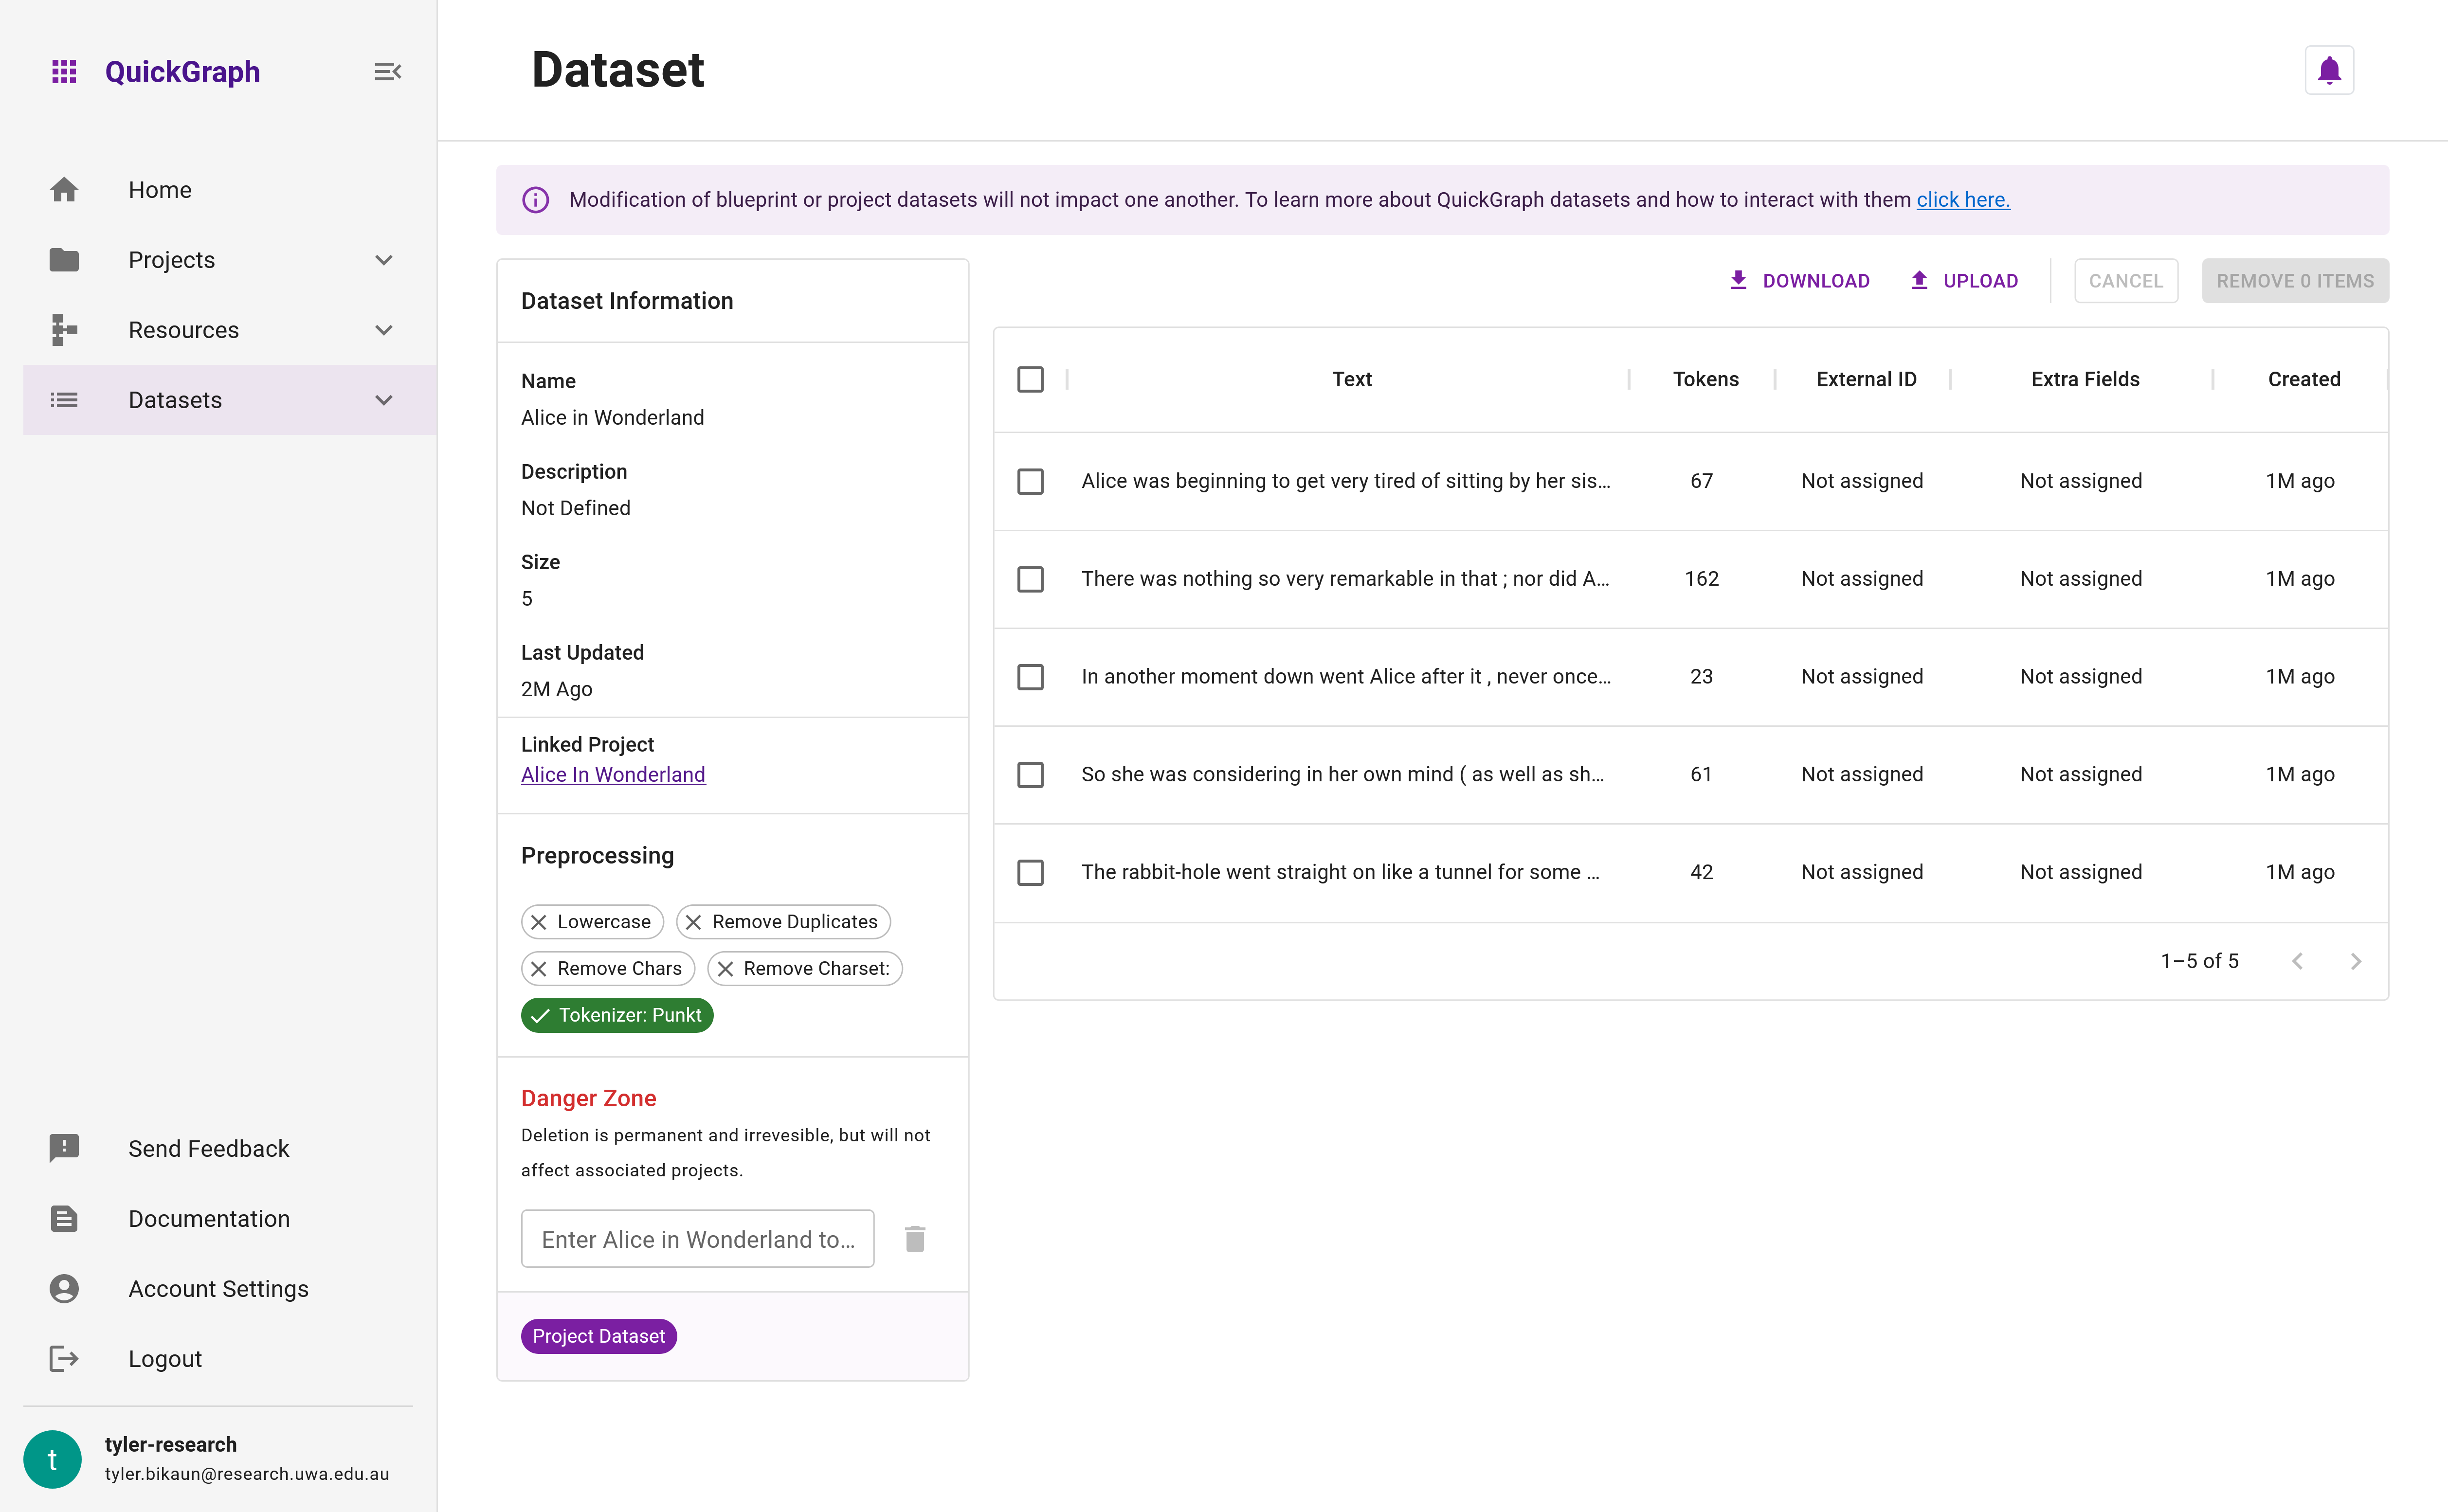
Step 1: Navigate to the "Alice In Wonderland" Dataset Management page (Figure 1). You can either:
Option A: Click on the Dataset tab in the Project Dashboard. This will open a new window displaying the project dataset. Look for a chip that says Project.
Option B: Locate the project dataset from the Dataset Explorer page.
Either way, you will land on the Dataset Management page. Here, you can identify the associated project - Alice In Wonderland in this case.
Modifying a project dataset will only reflect changes to that dataset. Also, modifying a blueprint dataset won't affect projects already initiated with that blueprint, but future ones will incorporate these changes.
On the Dataset Information sidebar, you can view information like preprocessing steps, linked projects, and linked resources, depending on the dataset.
Adding New Data Items
Let's append a new item to the dataset.
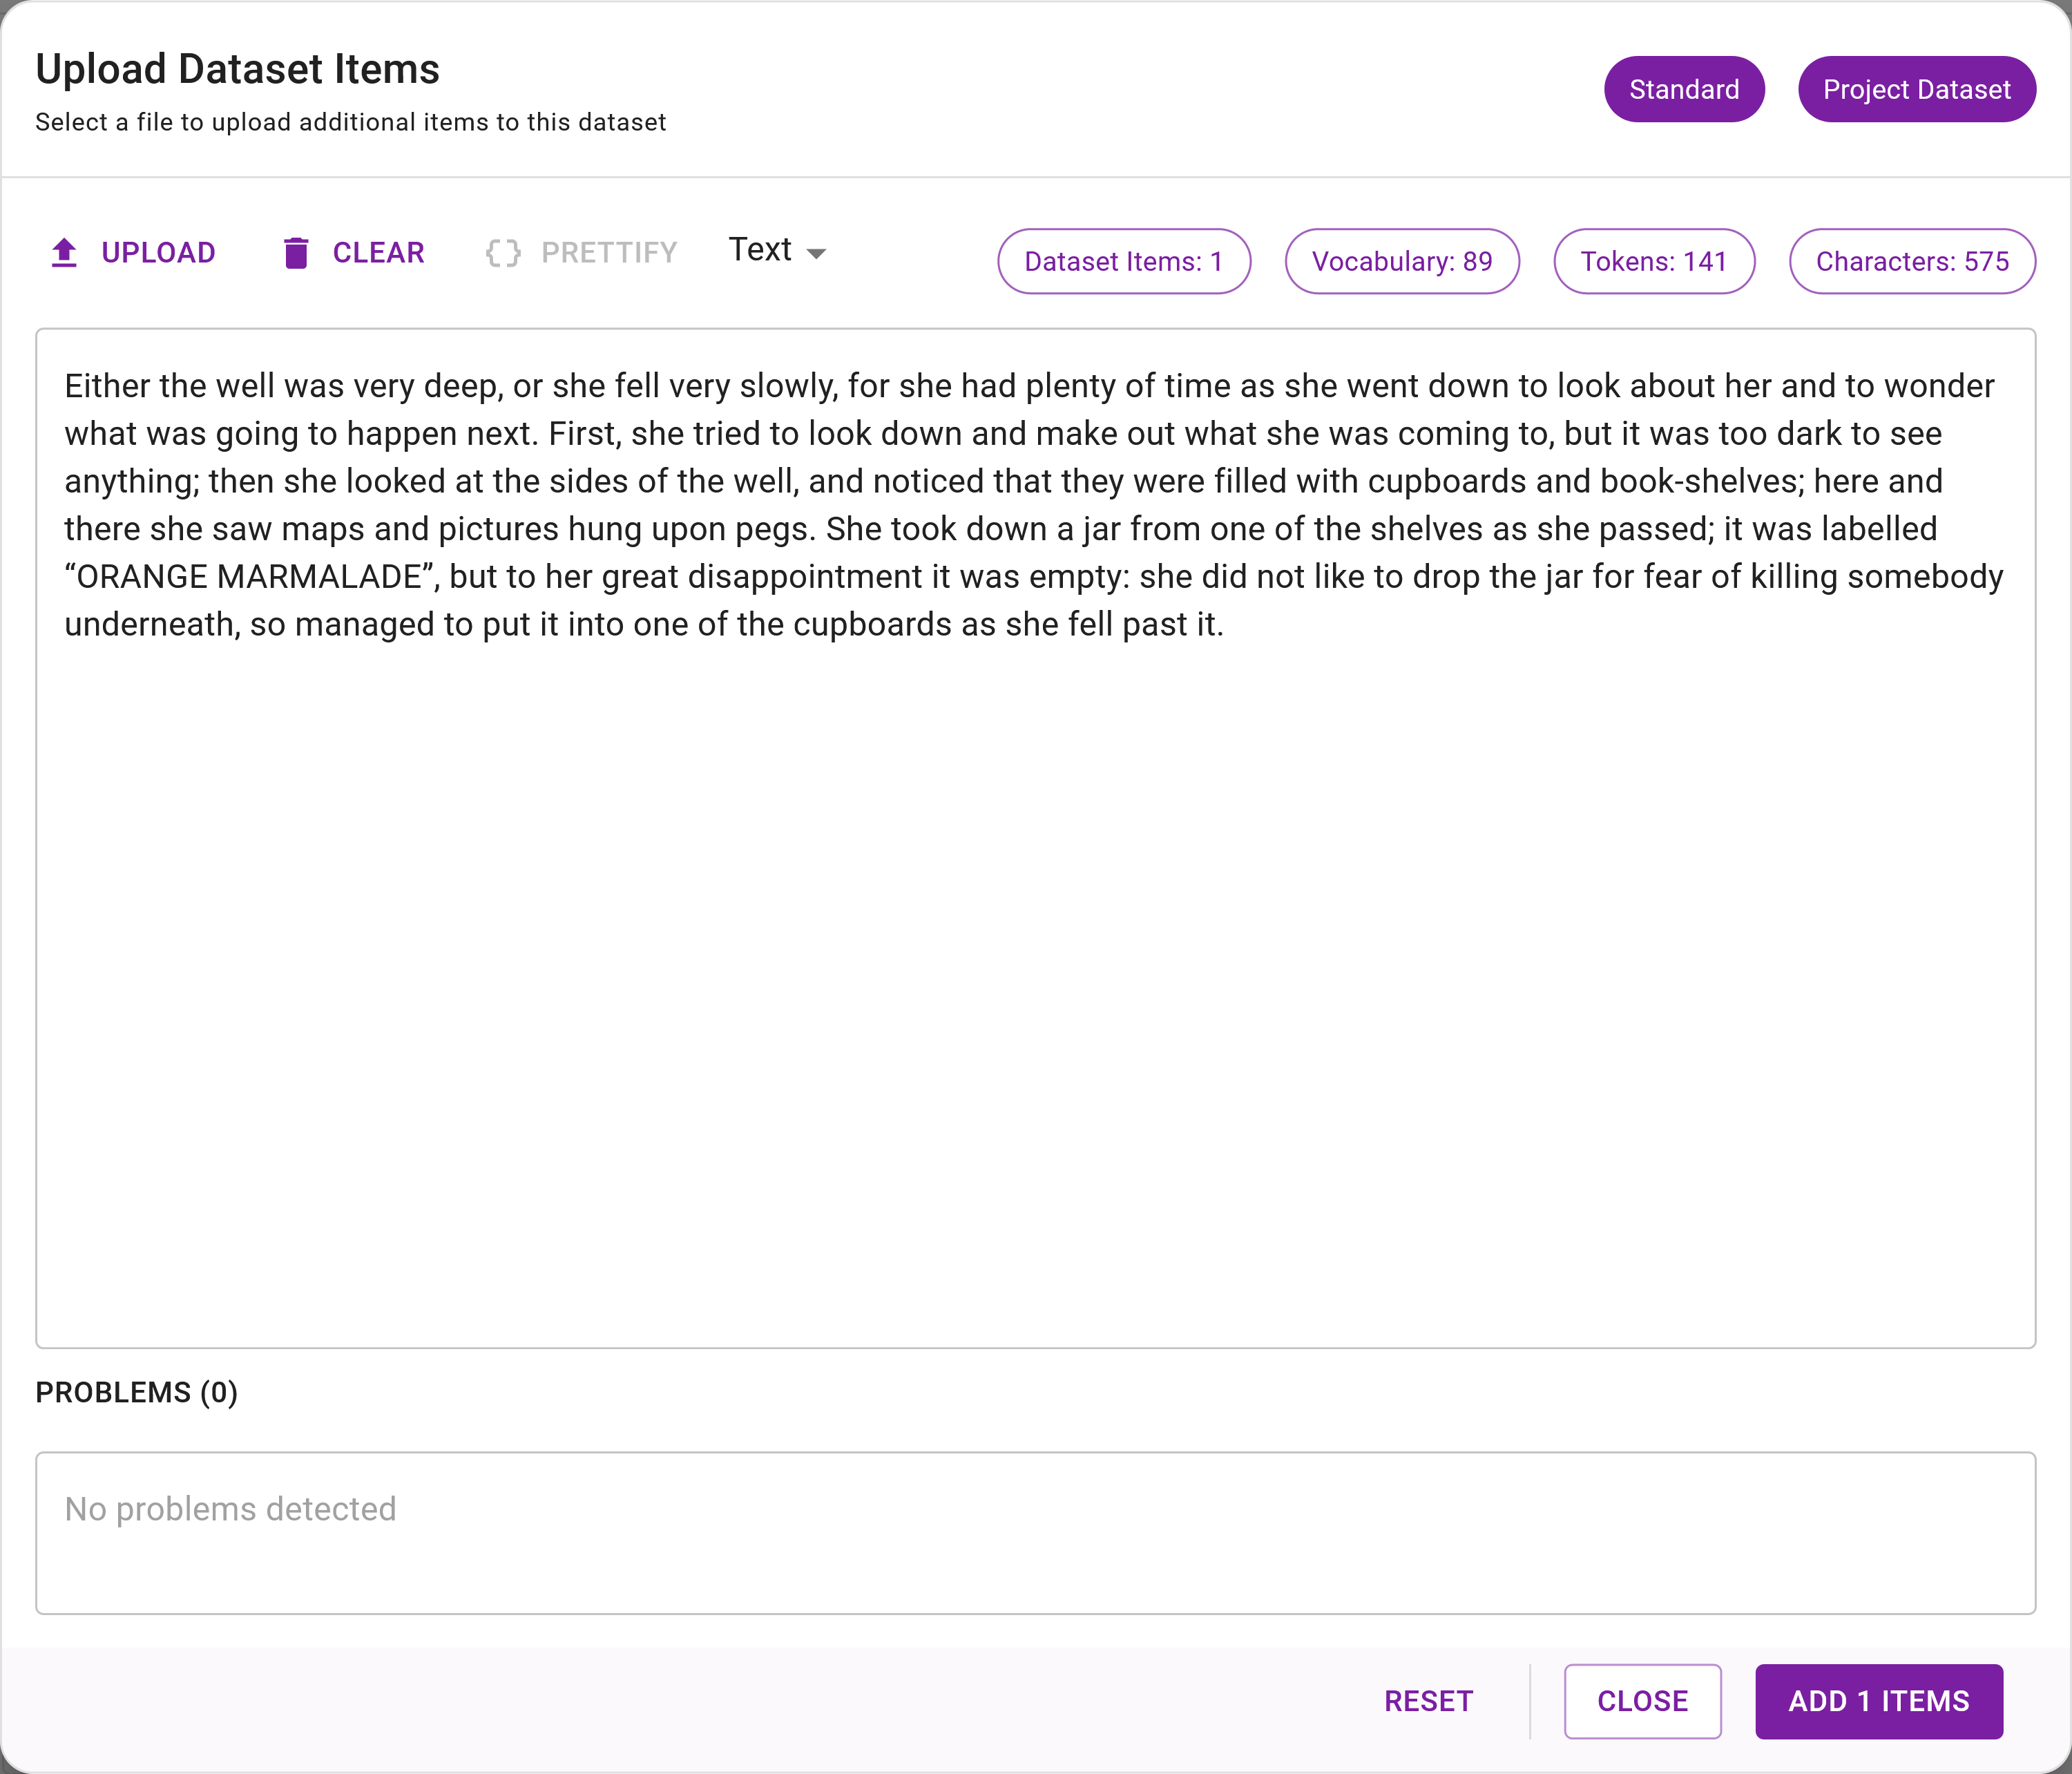
Step 2: Click the Upload button on the Dataset Management.
Step 3: A modal identical to the Dataset Editor and Dataset Preprocessing interfaces will open. Paste the following text into the modal editor:
Either the well was very deep, or she fell very slowly, for she had plenty of time as she went down to look about her and to wonder what was going to happen next. First, she tried to look down and make out what she was coming to, but it was too dark to see anything; then she looked at the sides of the well, and noticed that they were filled with cupboards and book-shelves; here and there she saw maps and pictures hung upon pegs. She took down a jar from one of the shelves as she passed; it was labelled “ORANGE MARMALADE”, but to her great disappointment it was empty: she did not like to drop the jar for fear of killing somebody underneath, so managed to put it into one of the cupboards as she fell past it.
Your upload modal should now resemble Figure 2.
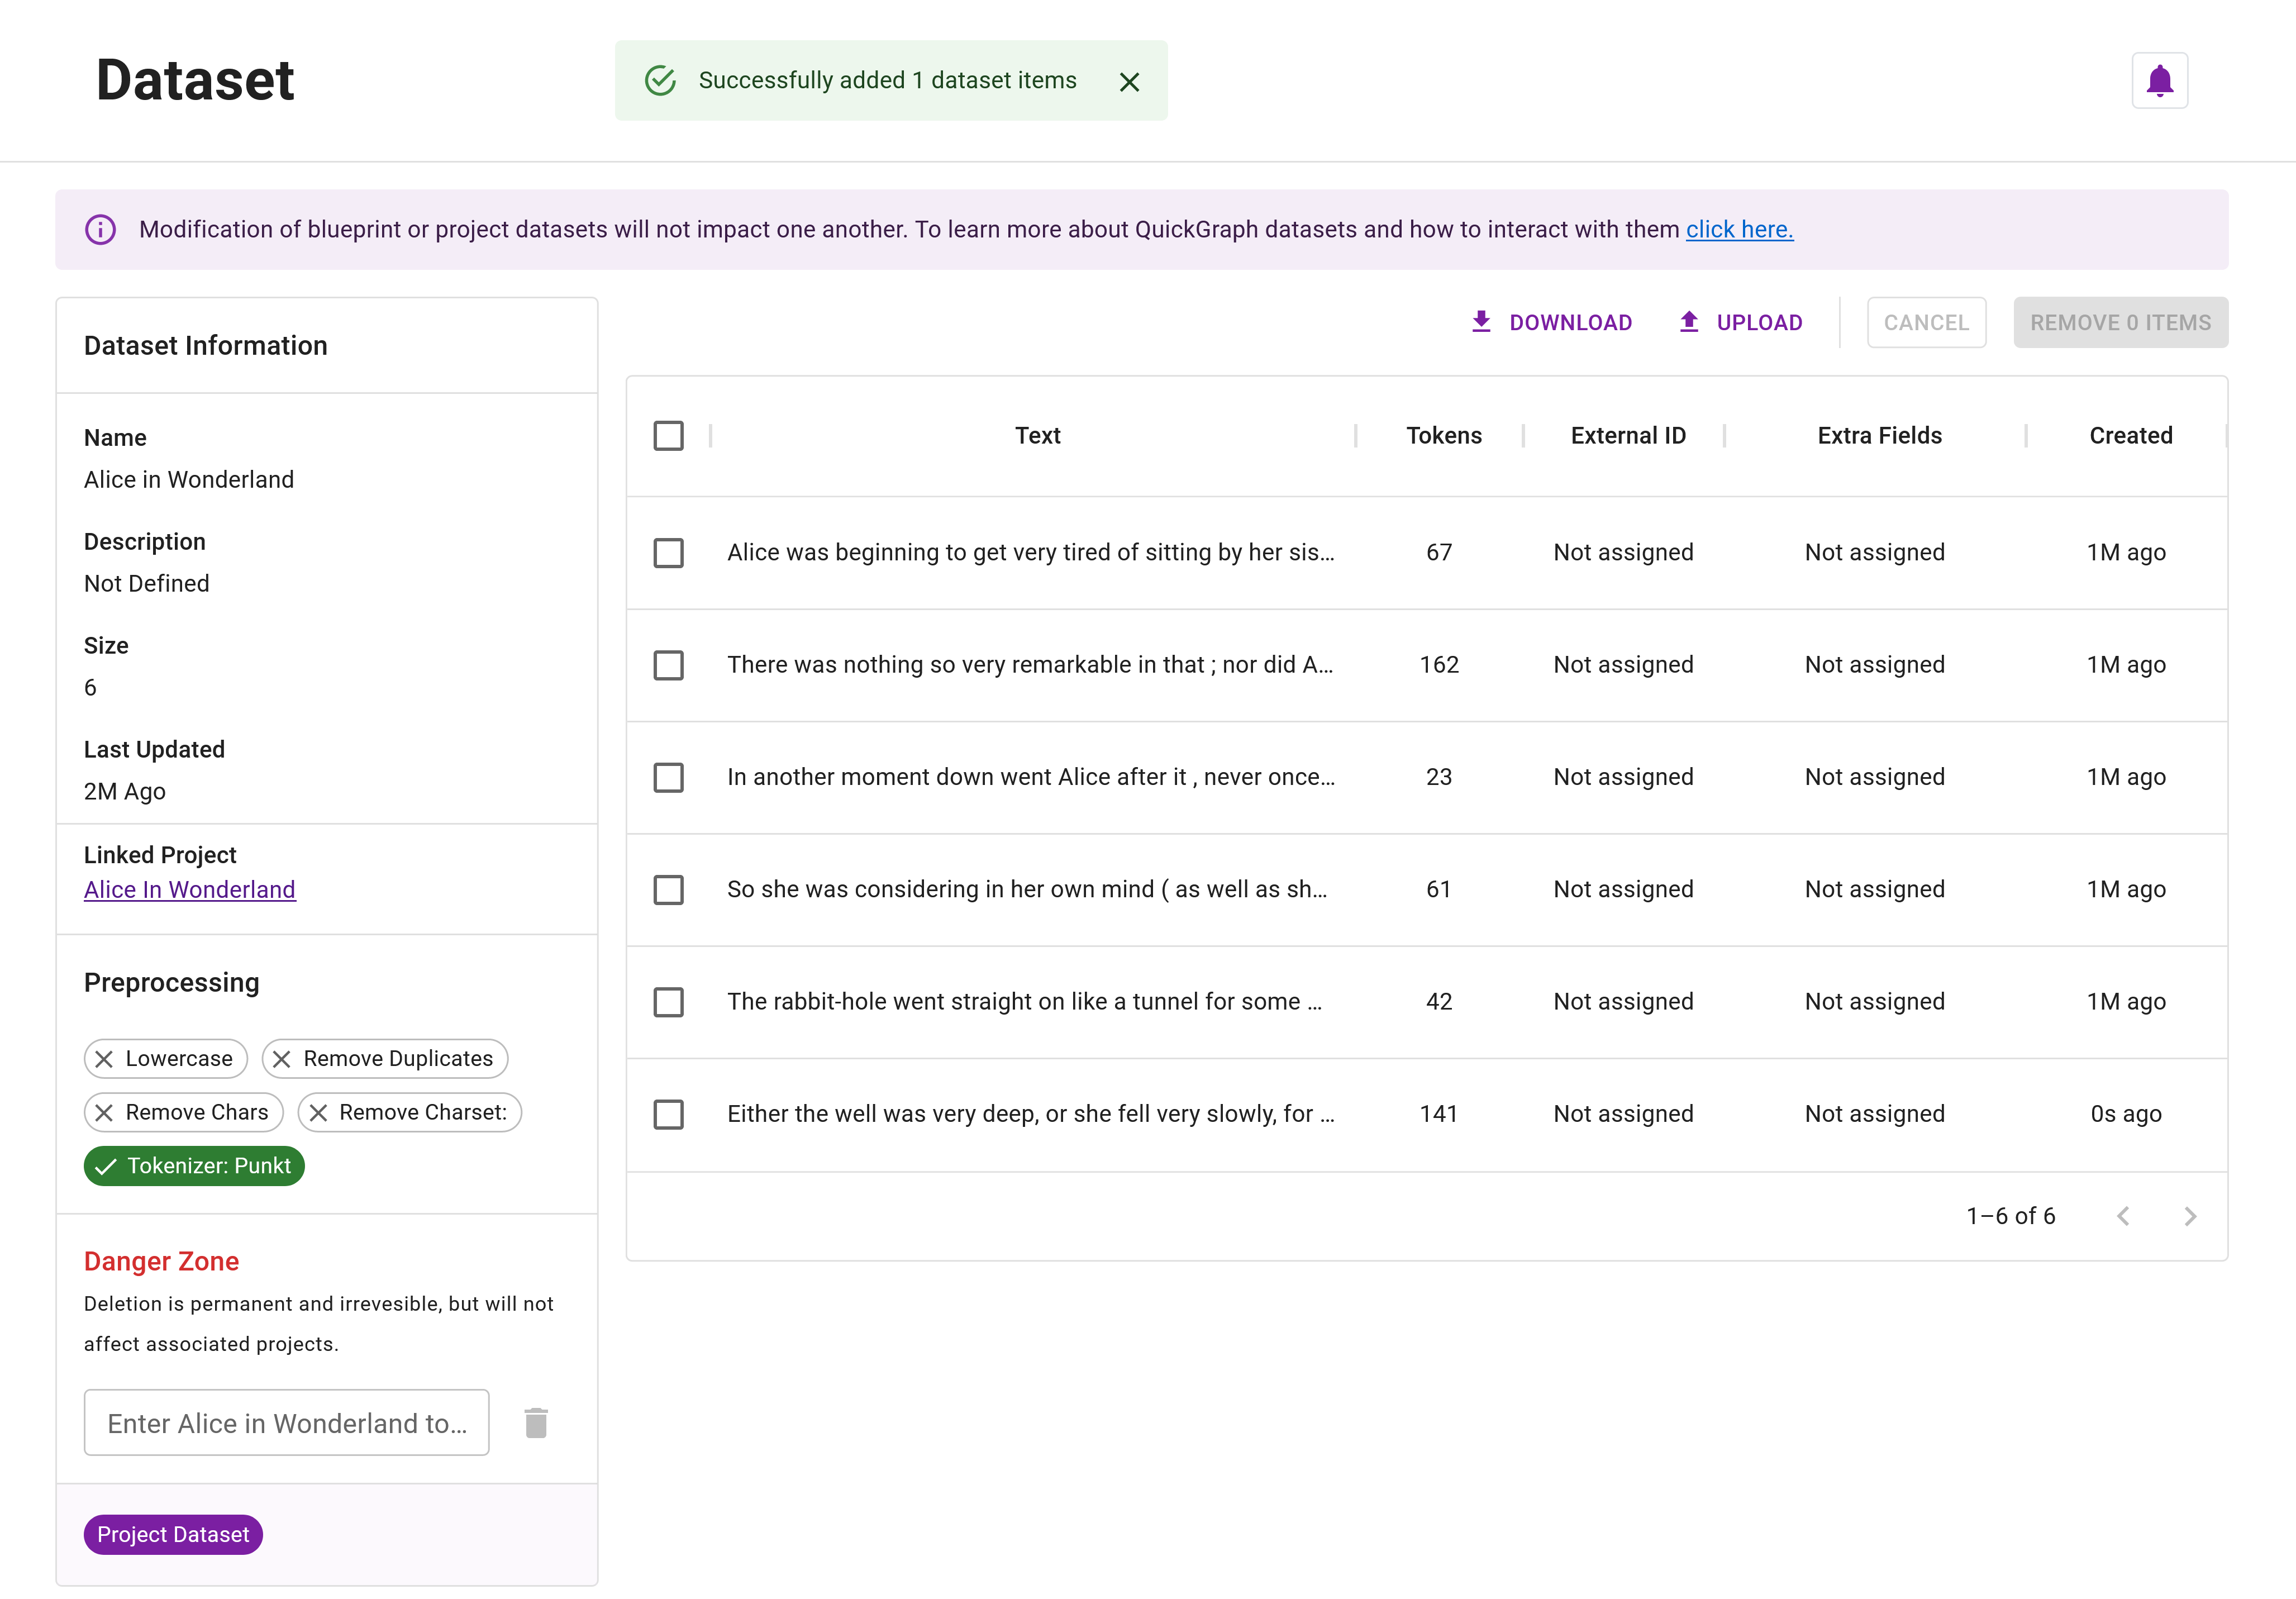
Step 4: After copying the text into the editor, click Add 1 Item to append the new data item to the dataset.
Your dataset management page should now look like Figure 3.
If you are adding new dataset items to a Project Dataset, they will not automatically assigned to project annotators. You will need to navigate to the project dashboard and assign them - see here for more information.
Assigning the New Data Item
Let's assign the new dataset item to ourserves for annotation.
Step 5: Click on the Alice In Wonderland link under Linked Project in the Dataset Information sidebar. You will be redirected to the project's dashboard.
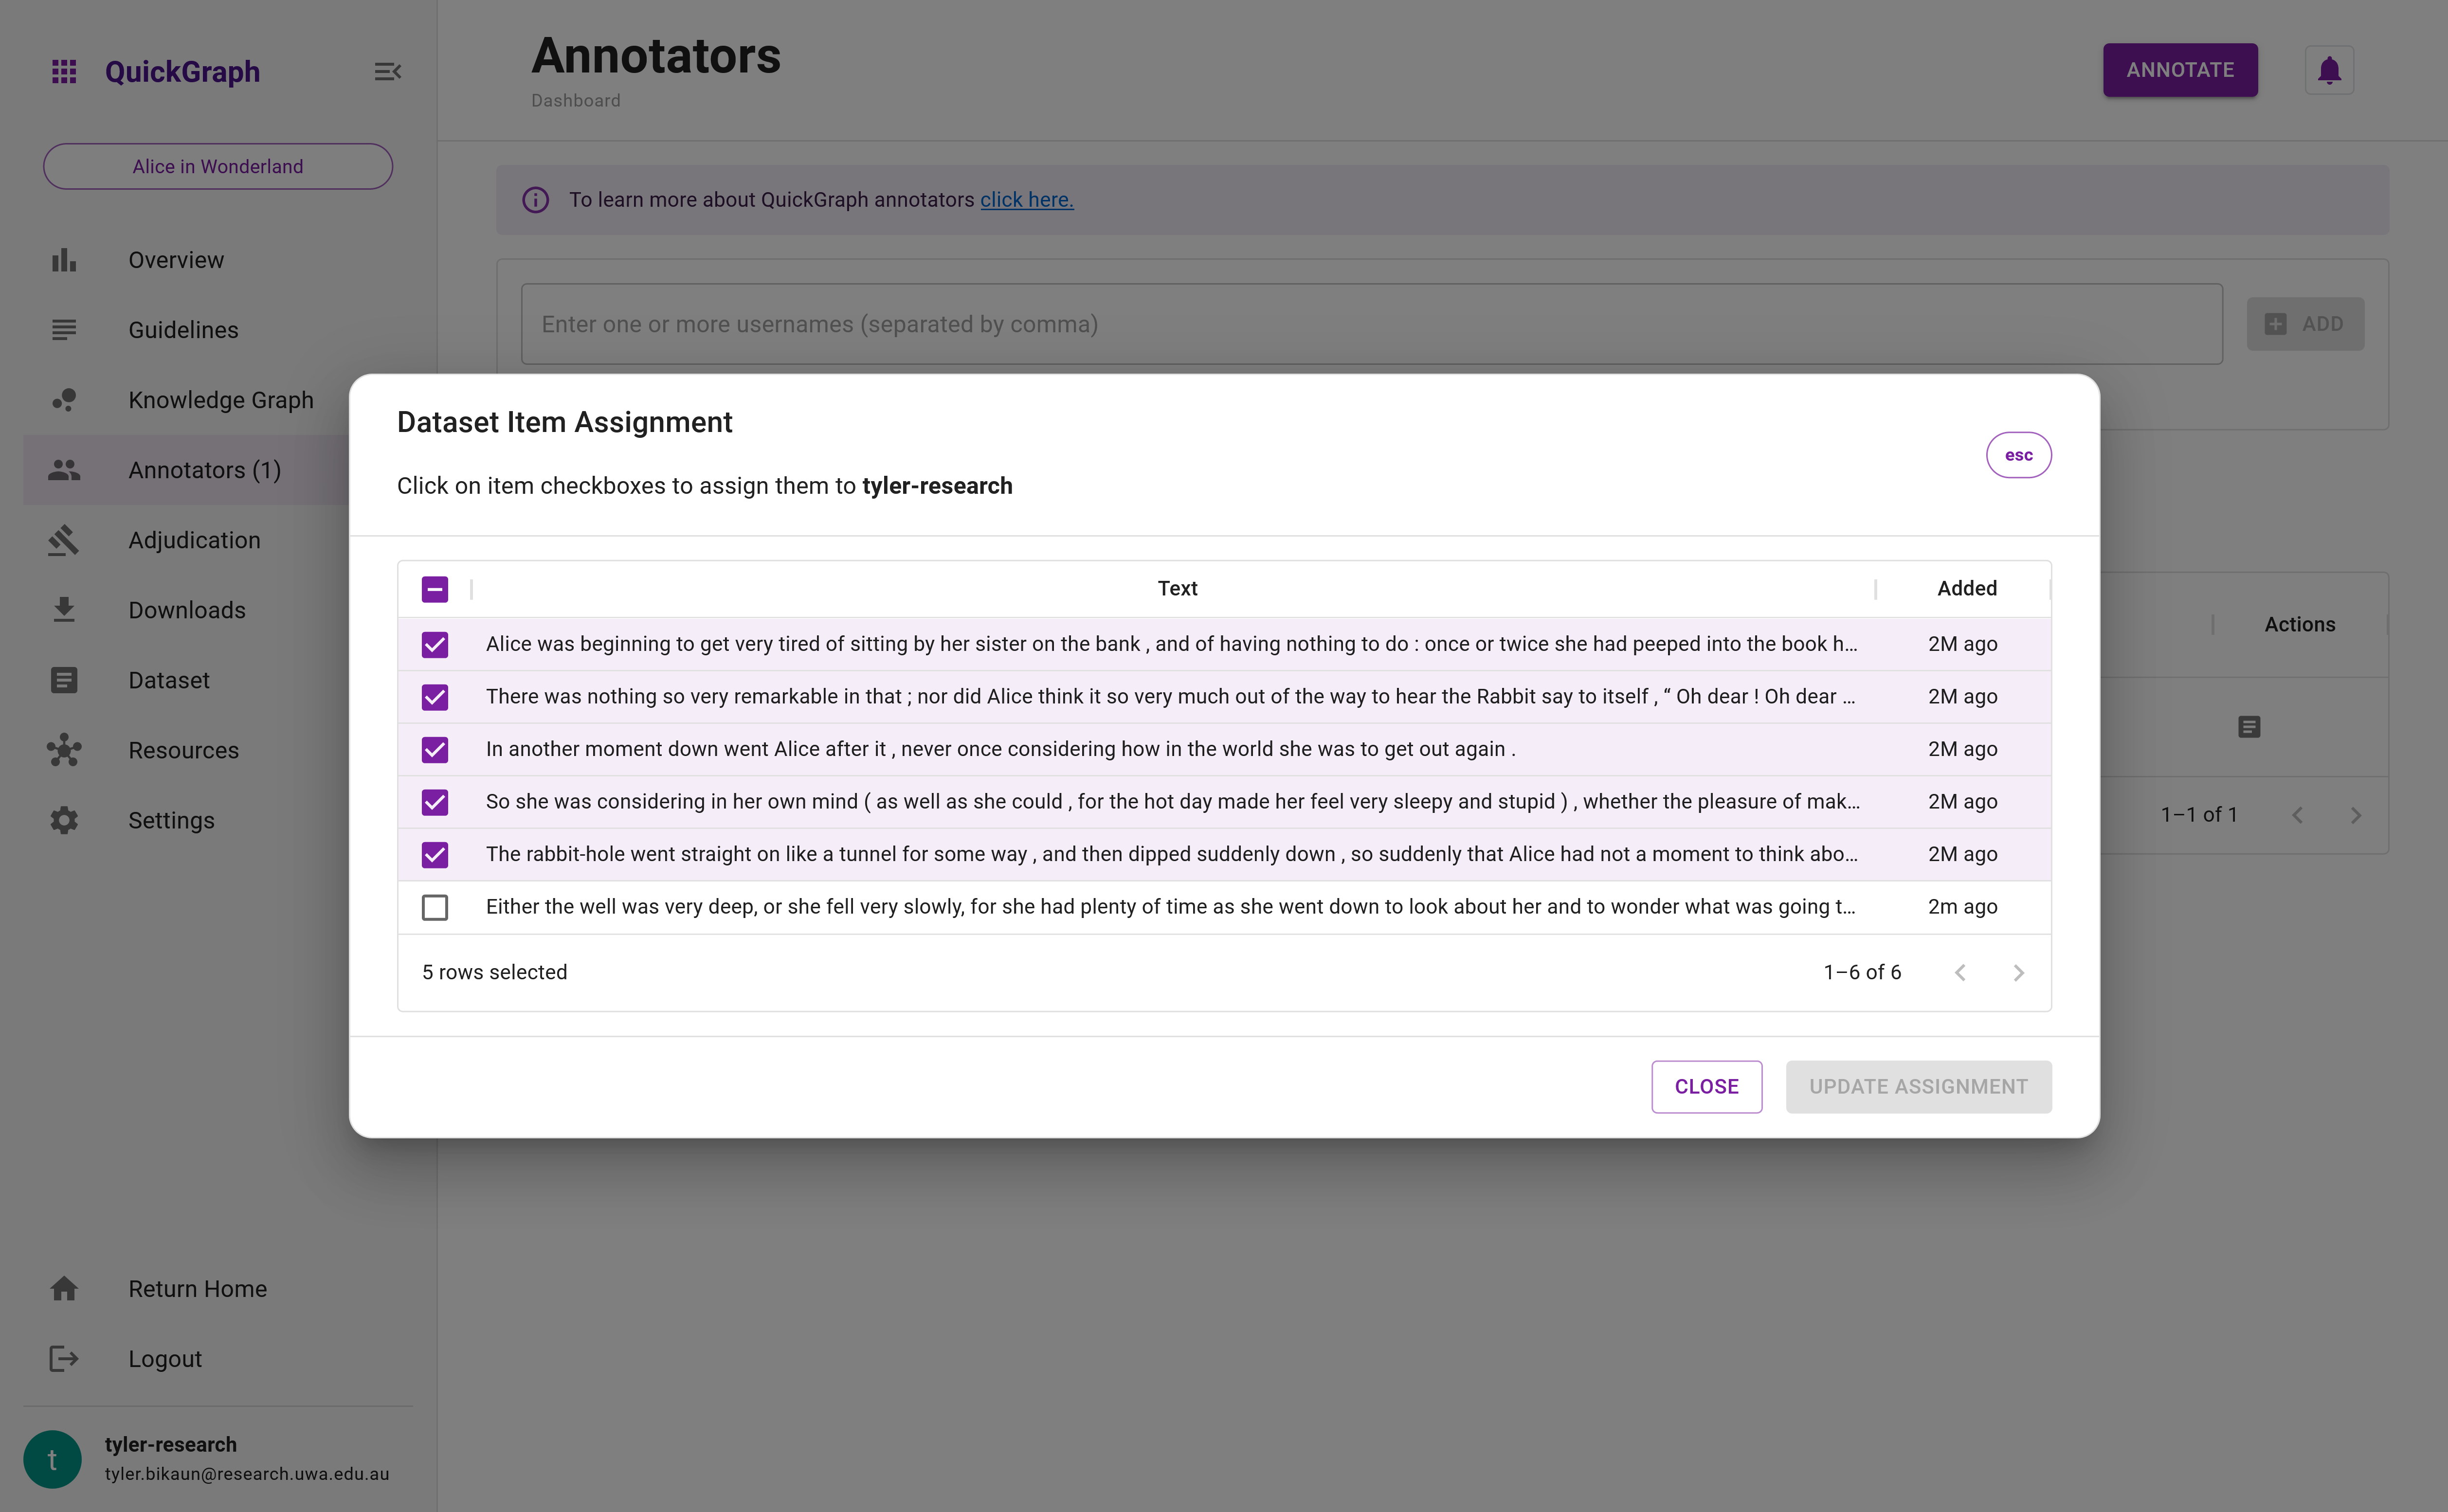
Step 6: Navigate to the Annotators tab on the dashboard.
Step 7: Click the assignment icon next to your username to assign the new data item. This will open the assignment modal (Figure 4). Select the checkbox next to the new item and click Update Assignment to make the item available for annotation. You'll see the assignment size increment after you do this.
Step 8: Navigate to the project's Annotation View. You should now see the new dataset item.
Removing Data Items
Please note that deleting items is permanent and irreversible, leading to the removal of all associated annotations. Exercise caution while proceeding.
In this section, we will guide you through the process of removing items from a dataset, as demonstrated in Figure 5.
Step 1: Identify the item you intend to remove from the dataset. For instance, you might want to remove the data item we added in the previous section.
Step 2: Select the checkbox adjacent to the target item.
Step 3: Click on Remove 1 Item. This will remove the selected item from the dataset, and it will also be removed from the scope of any annotators if the dataset is linked to a project.
Deleting All Items in a Datasets
It's essential to note that a dataset must always contain at least one item. Therefore, if you select all items, the system prevent you from removing them. Always leave at least one item unselected when performing a bulk deletion.
However, if you need to remove all items in a dataset, follow these steps:
- Remove all items except one.
- Upload any new items you want to include.
- Delete the remaining old item, if it's no longer required.
This workaround allows you to essentially refresh your dataset.
Adding Items to Preannotated Datasets
Coming soon.